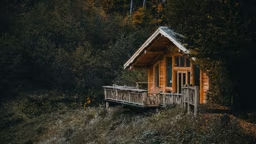
For many, going to the cabin is about getting in touch with nature. Bring it to your doorstep by creating a beautiful pathway.
I received Eric's email first. Since I didn't recognize the sender and was short on time, I thought, "I'll deal with this one later when things slow down." That's when the phone rang. It was Eric. "Did you get my email?" he said almost out of breath. "Ummm, yeah, I was just opening it." I clicked quickly on the email and scrolled through to capture the drift of his message. Two pictures were attached. "Cute one of the little boy," I said, impressed to see the boy walking along a coneflower and blazing star-lined pathway leading to the front door of a brick building. "That's my son at the Schlitz Audubon Center," he said. "Did you see the other one?" “Wow,” I thought. Now I know why he sounded a little panicked. What a contrast between the two pictures: A happy child toddling among wildflowers and the war zone that is new home construction. “Looks like you’re building a new house,” I said. The picture captured the demolition of his beloved lakefront property. Huge piles of what I knew to be sandy acidic soil, typical of northern Wisconsin, were evidence of the excavation needed to accommodate the basement of his new cabin. Both basement and walkway were being poured that week. “Yeah,” he said, “I was just going to drive up and throw down lawn seed next week when they completed the finish grade, but I thought I’d call you first because I want the walkway to look like the one at Schlitz.”

Eric’s son strolls up the natural walkway to the Schlitz Audubon Center in Milwaukee, Wis. This walkway inspired Eric to do more than just add grass seed after his lakehome renovation was complete. He wanted to bring nature back to his property. Photo by Eric Resch.
Eric was about to do what many of us do when confronted with a huge mess after a construction project tears up our yard, we react to the disorder and focus on cleaning it up quickly, instead of taking advantage of the clean slate to create a vision. He knew that he had to release his clutch on the bag of turf seed if he wanted his vision to come to life. For Eric, he wanted to recreate the feeling he had watching his son walking towards the doors of Schlitz in Milwaukee, Wis. There was a soft, natural look of wildflowers and grasses arching over the pathway under the warmth of the summer sun. Eric’s vision is common, especially among cabin owners that are looking for something natural. He wanted a landscape that blends with the surrounding wildness, a landscape that defines his cabin as an escape, instead of a want-to-be manicured yard guilting him into mowing every time he visits. Your walkway is the first impression of every experience you have at your cabin. Dress up the pathway by yourself to create that natural look with the following steps.

1. Get out your notebook and pen
Create a drawing that not only includes your walkway, but the footprint of your house and other landscape features, including measurements. Thinking of your walkway enhancement project as part of the bigger picture will blend it into the rest of the space instead of creating an island with a potentially contrasting identity. Once you have your "this is how my outdoor space looks right now" image, then you can add the outline or bed lines for the new planting area. No rules here. Although curves are very popular bed lines, you may prefer squares or octagons. Once you've drawn in the future bed lines of your walkway garden, figure out the square footage of the interior shapes around it (think way, way back to grade-school math: Length x width for square shapes, ? x radius2 for circle shapes, and ½ base x height for triangle shapes), as you will need to know square footage to determine how many plants you will need.
2. Relax into your favorite lawn chair
With sunblock on and a refreshing beverage in hand, plant yourself on your walkway. It’s the most laid-back way that I can think of to determine the hours (or lack thereof) of summer sun that hits your walkway during a summer day. In order to match the plants to the space, you need to know whether you’re dealing with full sun (5 hours or more per day), partial shade (3–5 hours of sun) or shade (less than 3 hours of sun).
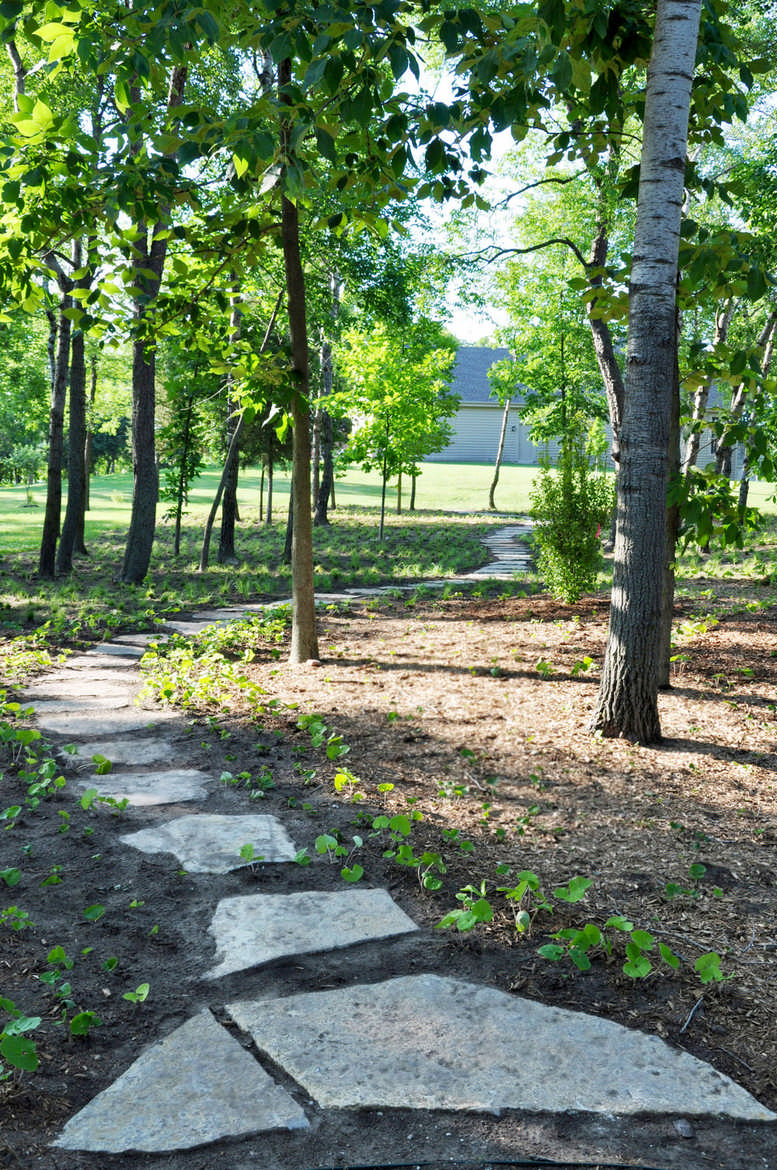
This stepping-stone walkway leads one through first-year plantings of wild ginger and Pennsylvania sedge that look like typical first-year sparse plantings. Photo by Michael Herrenbruck.
3. Get your hands dirty
Scoop out some soil from your plants’ future rooting zone. Put a handful into the palm of your hand. Does it feel sandy? What color is it? Could you make a clay pot with it? Can you wring water out of it? The better you can describe it to a nursery, the better they can advise you on a palette of plants that will thrive in it.
4. Make a phone call (or send an email)
Contact a nursery that specializes in the production and sale of native plants in your neck of the woods, and describe your planting space and need for self-reliant plants at your cabin. They will be able to provide you with a list of plants that will thrive in the soil, light, and moisture conditions that define your site, and those that can live with the amount of attention you can give them (especially if you’re not at the cabin 7 days a week). Stick with plants that are native to your area as they won’t require a lot of hand-holding. These are the plants that want to be there. If wild blueberries are thriving along the woods near your cabin, it’s a safe bet that they will thrive in the yard around your cabin.
5. Tell yourself, “I am a landscape designer”
After talking with a native nursery, you may have hundreds of choices to choose from. How do you decide? Don’t be tempted to use one of everything, as this will earn your walkway garden the “messy” label (unless messy is your goal). Divide your plant list into early-, mid-, and late-blooming wildflowers and grasses and sedges. Pick three or four that you love from each blooming period, and a few grasses or sedges. Devote a minimum of 30% of your square footage to grasses, as they are the backbone of a low-maintenance garden. Lay out your garden design on your plan first, delineating drifts of early- next to mid- or late-blooming wildflowers so something is going on all summer. Plan on either evenly mixing the grasses throughout the garden or creating grass drifts that wind among the wildflowers. For that natural look, keep plants close together when planting so that when they reach their maximum breadth, neighbors are touching.
6. Go shopping, buy American
Call back that same friendly soul that helped you create your planting list, and place your order. Make sure you order a few weeks prior to your planned garden install date, especially during the spring season, as many nurseries have busy shipping schedules then. Feel good about buying plants that were present prior to our urban sprawl, plants that nurture our local birds, butterflies and bees. These are America’s plants.

Even if you're starting from scratch, you can achieve a naturally landscaped walkway. Like Eric, all you need is a vision. Photo by Eric Resch.
7. Get your hands dirty, again
Get rid of the existing vegetation by first using a broad-spectrum herbicide (approved for areas along the water if in close proximity) or by tilling. Prior to planting, rototill your planting area to a depth of 7 inches or so, creating a smooth planting bed. Add your plants based on your plan and recommended spacing (it helps to laminate your plan beforehand to protect it). Top-dress with an inch of composted leaf mulch if your soil needs a nutrient boost (skip the bark mulch as this will deplete your soil of nutrients as it breaks down). And enjoy! Don’t worry. Your plants will look sparse at first, especially if you purchased small pots or plugs. New plants spend their first year adjusting to their new digs, investing in deep roots prior to putting on a lot of top growth. Just keep them watered and weeded as needed to speed up their establishment. By mid- summer of the second year, your plants should be fairly self-sufficient as they double or triple in size, minimizing your management obligations.
Jennifer Baker is the owner of Sparrow Land Planning, www.sparrowlandplanning.com.