1. Mix dry ingredients and water into your pail.
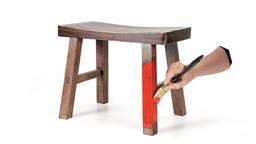
Working with small batches, scoop the dry blended ingredients into a mixing pail. For a first attempt, start with 7 level cups.
The amount of water needed to make the concrete may vary from batch to batch. That said, 11/2 cups of water added to the 7 cups of dry mix will get you in the ballpark. (See image 1.)
It’s important to add water to the dry mix slowly, stirring as you go, until your concrete has reached the optimal consistency. Traditional concrete should have the consistency of thick, stick-to-your-ribs oatmeal.
2. Fill your mold.
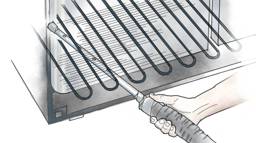
Load the bowl to the top with concrete mix. (See image 2.) Bounce the filled bowl lightly on a work surface to eliminate voids and bring excess water to the top.
With a flat-edged board, scrape the wet concrete level with the surface of the bowl.
Load the bowl to the top with concrete mix. (See image 2.) Bounce the filled bowl lightly on a work surface to eliminate voids and bring excess water to the top.
With a flat-edged board, scrape the wet concrete level with the surface of the bowl.
3. Make a space for the tea light.
Press a candle cup into the concrete in the center of the bowl, so that the cup’s top edge is flush with the surface.
If the candle cup floats up, add a few pebbles as ballast or place a board across the top. After a few minutes, the concrete will stiffen, and the cup will stay put. Level the surface once more.
4. Cover and allow to cure.
For best results, cover the concrete to keep it from drying too quickly. This is especially critical in hot, dry weather. Concrete cures best at 70 degrees Fahrenheit and in mid to high humidity. A plastic sheet or damp rag over the top will stem moisture loss. Keep the concrete damp for at least three days.
Typically, you can un-mold the candleholder after two or three days. At this stage, the concrete is still somewhat wet, making it easy to distress. Tapping gently around the bottom with a rubber mallet usually will release it. Roughen the surface with a wire brush for a rustic look. (See image 3.)
If you want a smooth candleholder, let it dry in the mold for about a week. The cast should slide from its mold without coaxing. (See image 4.) Pop in a candle and strike a light. A week after pouring, a lamp is ready to use.
Keep in mind that, even if it feels dry, the new lamp still contains significant moisture. Don’t set it on your coffee table without a coaster.
Project guy Raj Chaudhry is almost done refinishing his coffee table. He vows to never again set an uncured concrete candle lamp on it.
Keep in mind that, even if it feels dry, the new lamp still contains significant moisture. Don’t set it on your coffee table without a coaster.
Project guy Raj Chaudhry is almost done refinishing his coffee table. He vows to never again set an uncured concrete candle lamp on it.
Concrete candle lamps are charming, simple and inexpensive projects. They can be waxed smooth or scored to look like weathered rock. They can be coated with sand, covered with moss or stained with earth pigments. Their rustic elegance and natural durability make them equally at home on the dining table or on the deck – versatile, romantic accessories for today’s cabin living.
Tools and Materials:
•Pre-blended concrete mix that requires only the addition of water
• Small plastic pail for mixing
• Measuring cups or cans
• Sturdy mixing spoon
•Two 6-inch hard plastic bowls (for mold)
• Small board for leveling
•A candle cup to create the recess for the tea light
• Stiff-bristled utility brush


 Raj Chaudhry